This school year I have delved deeper into the suite of Google Apps, including Google Slides. The following is a list of 5 new ways to use Google Slides in your classroom. Some of the ideas here come from a two day Google Apps for Educators workshop I attended led by James Sanders of the EdTechTeam. Some of these require publishing your presentation to the web. If you are not sure how to do this you can watch my short tutorial. Please leave a comment with any other ways you are using Google Slides!
1. Make a Student Friendly YouTube Playlist
I love YouTube and all it has to offer for teaching and learning but I also know it can be a major source of distraction. If you have a list of YouTube videos that you want your students to watch, simply insert each video into a separate slide and publish it to the web. This keeps students from being distracted by other videos and prevents inappropriate videos from accidentally coming into view. An added bonus is the advertised videos at the end don’t come up, keeping students on task. If you are feeling ambitious you can create a table of contents or do what I did here by using internal links for students to navigate.
2. Get Live Feedback Using PollEverywhere
PollEverywhere, a live audience participation web interface, is an excellent addition to Google Slide presentations. Soon enough I will give PollEverywhere its own post, but for now here is a quick way to spice up your presentations. By using many of the different question types, from multiple choice to short answers to clickable images, PollEverywhere can be used to make a one-way direct instruction presentation into an interactive back-and-forth lesson.
3. Have Students Create Their Own eBooks
There are many different companies and websites that allow students to create their own eBooks but Google Slides is an easy, and free, way for students to share their writing digitally. Students can use the many formatting tools to insert text, symbols and pictures to Google Slides making each slide its own “page” of a book. Students can bring their book to life with adding in animations or transitions or GIFs. They can also add in their own digital drawings using Google Drawings or scan their hand-drawn pictures in. For older students, you might explore having them use internal links to their project to create a choose-your-own-adventure book. And when they are all finished, they publish their work to the web and share the link with their many fans!

4. Make Your Own Interactive Slides Site
This is my favorite use of Google Slides. By linking different slides within your own presentation, and publishing your presentation to the web, you can create a student friendly interactive Slides Site. After you publish your work to the web and share the link, your students can then navigate through your “site” to learn at their own pace. You can set up a table of contents and have students skip right to the concept they need to learn most or ask clickable questions that will take students to different slides depending on whether the answer is correct or not. You can embed videos to supplement various concepts for students to dig deeper into the content. By using the internal links the students can move around the presentation making it work right for them. This is a great way to incorporate blended learning into your course. Here is an example that I made.

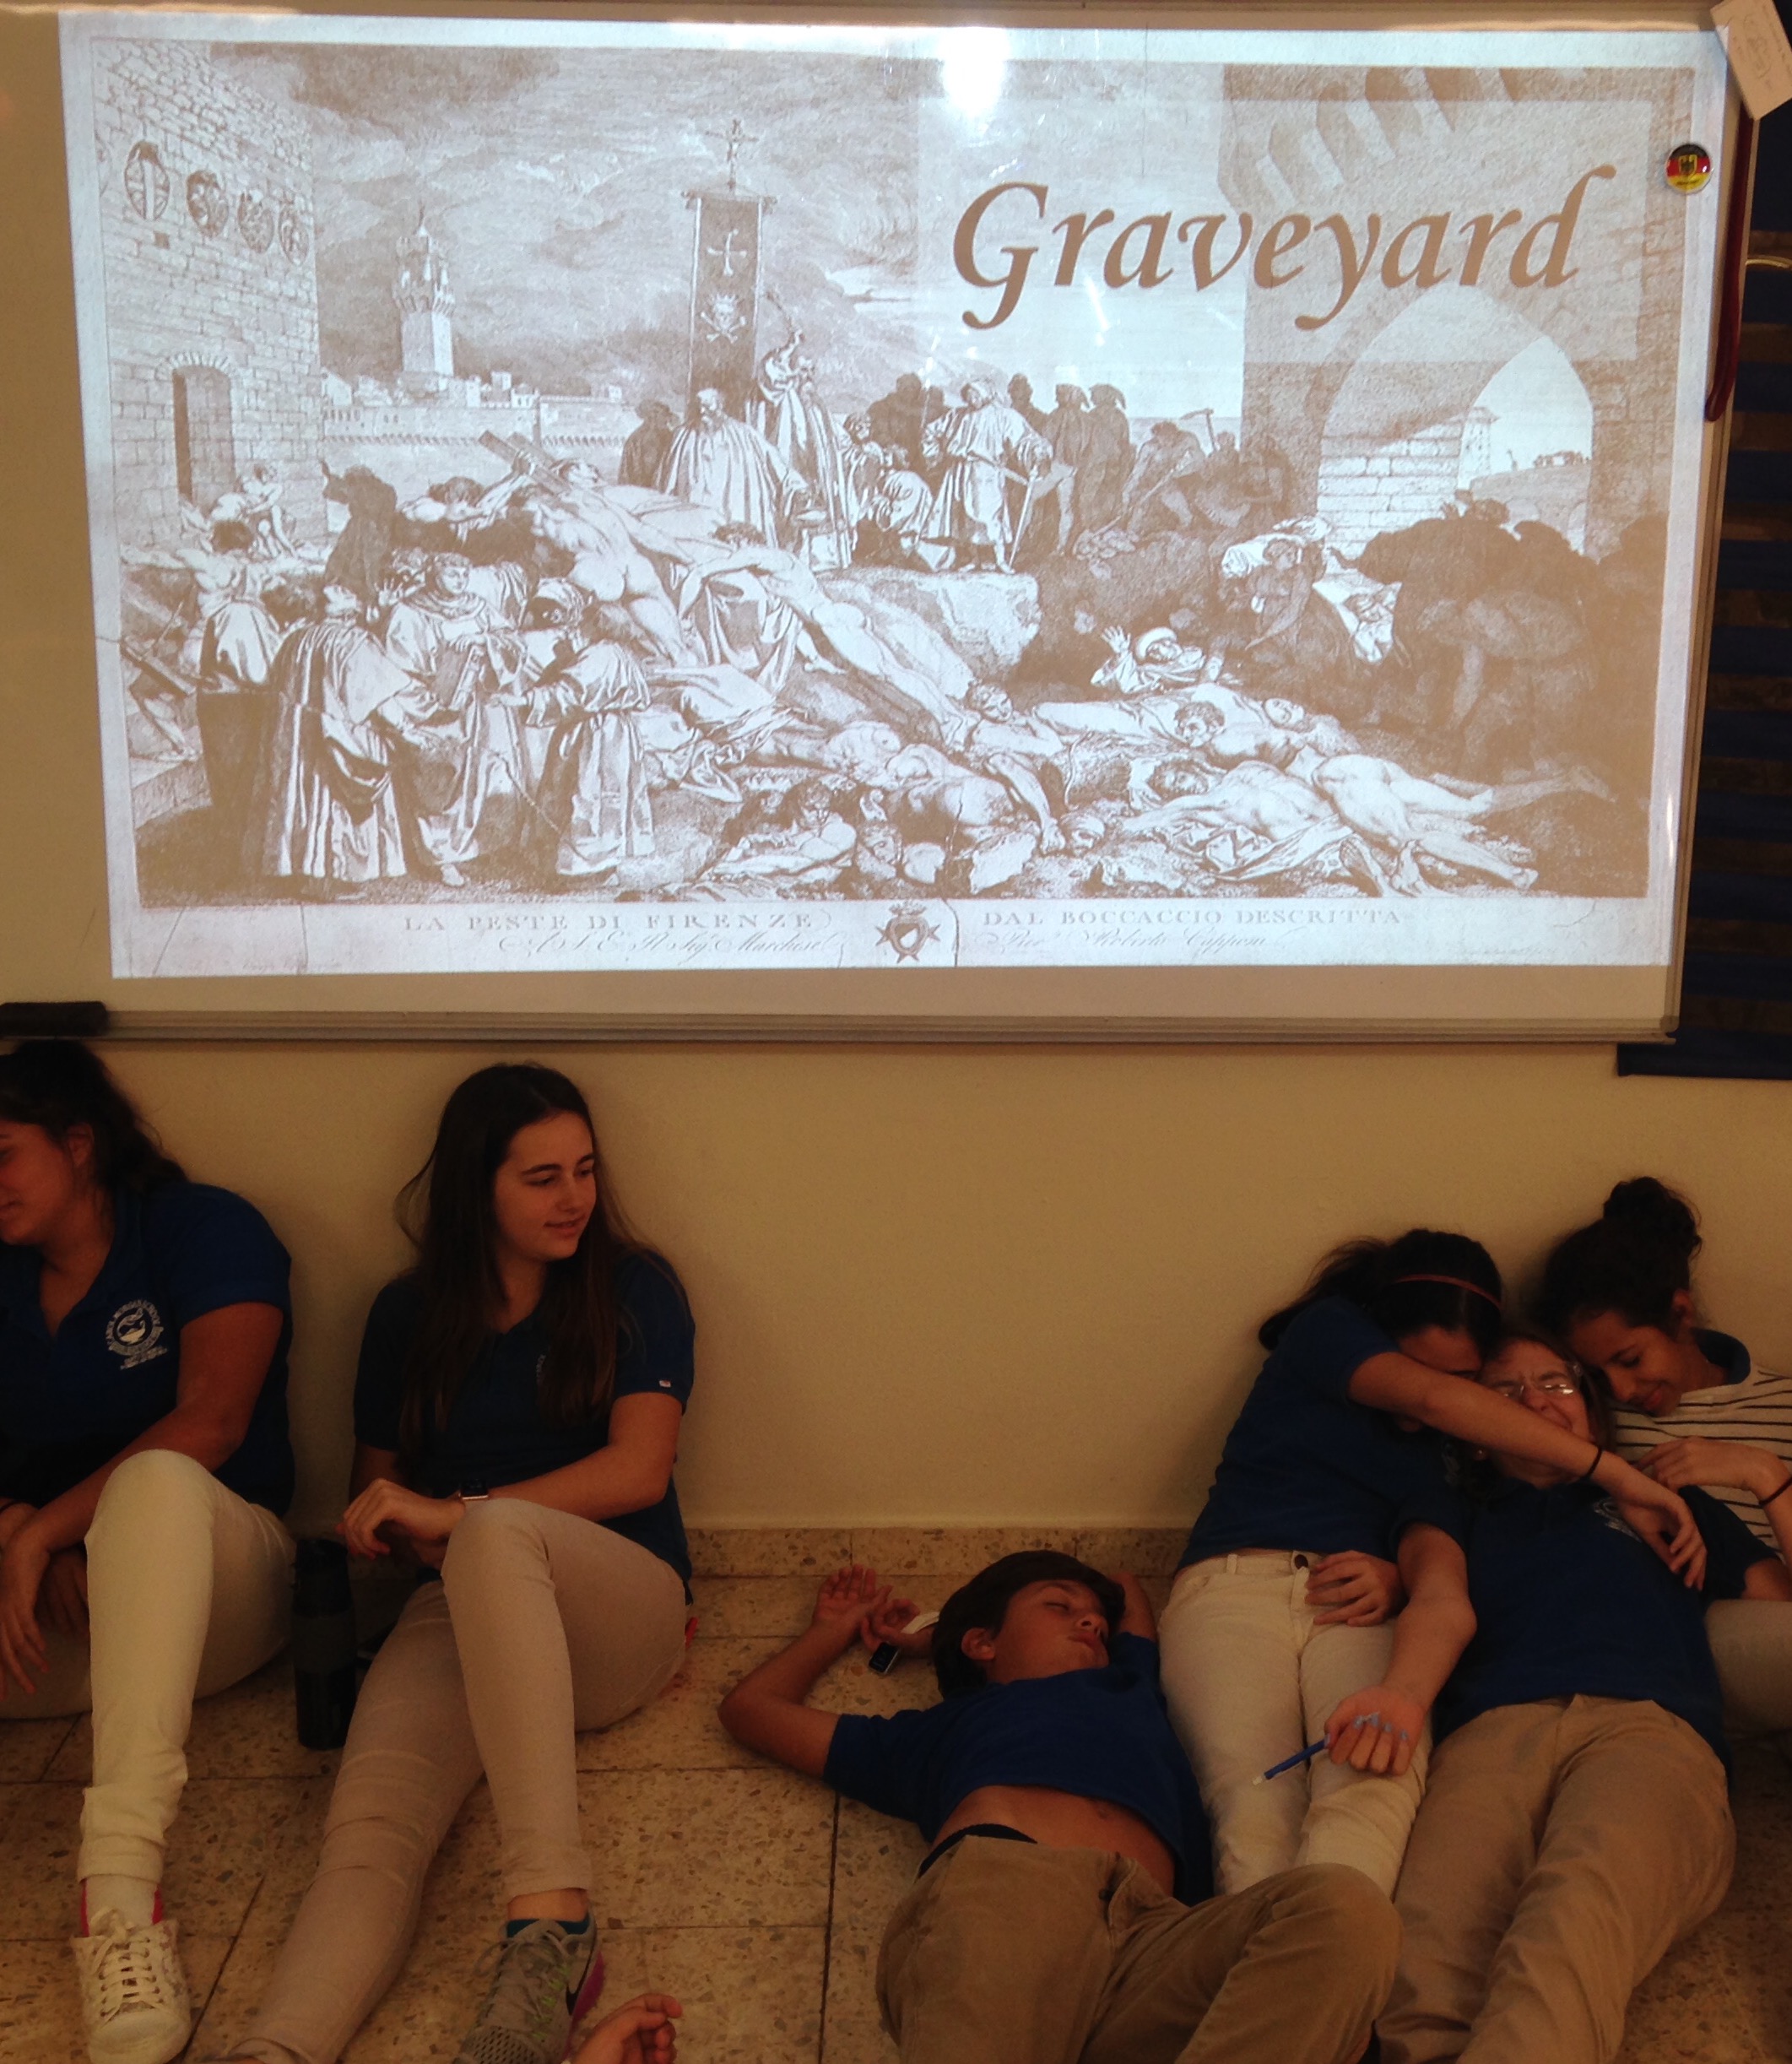
5. Create a Backdrop for a Dramatization or Presentation
I like to get students moving around and bringing history to life as much as possible, so teacher led and student created dramatizations are a regular part of my class. A simple way to take a dramatization to the next level is to turn your whiteboard into a movie scene backdrop. Simply insert an image as a background into your Google Slides presentation and project it onto your board. You can play around with historical pictures, colorful scenery or even use a muted video to bring your presentations to life! It is also a free and simple way to make a green screen to make Photoshop even easier.
Hi5!
